

I recently bought a 3D printer with my prize at the STM32 Wireless Innovation Contest. I got to know it, and here are my first hacks and conclusions.
The beginner’s choice
I had no real experience of 3D printing, except some hard times with a “first age” 3D printer during an intership and a bit with a Prusa in my engineering school’s fablab.
In addition of that, a 3D printer in my home lab was a nice to have for a long time, but definitely not a must. Making nice housings around my electronic projects can always be interesting, but a basic electrician derivation box works fine as well.
Requirements
I’m an engineer, so that choice was of course made from requirements! My ideal 3D printer should be…
- Not too expensive
- < 300€
- Not too big
- Think about my WAF
- Using standard filament spools
- The 1kg, 1.75mm PLA spools
- Hackable
- I don’t like to own the same thing as everybody
- Easy to sell in the future
- Because I know that I’ll want to change it to some more fancy model some day
- With decent build plate dimensions
- Miniatures are not interesting to me
- From a well-known brand
- Think about support and online help
- Easy to start with
- Not a children’s toy, not rocket science either
The choice
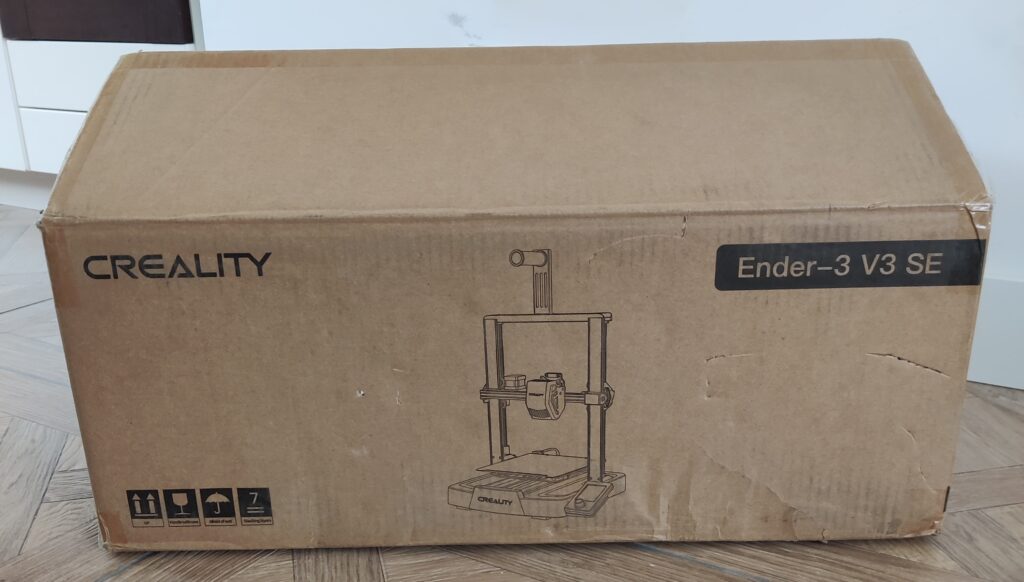
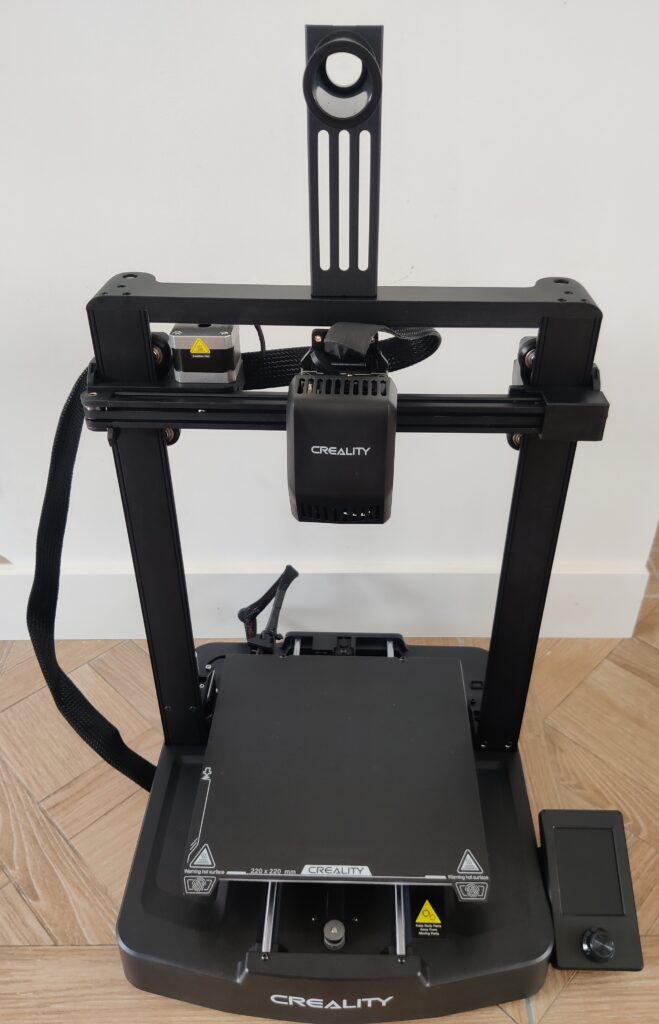
My final choice was the Creality Ender 3 V3 SE. I saw an ad with a perfect timing, and a nice sale, so I directly bought it. For only 179€ (requirement 1), it has a total size of ~35x36x50cm (requirement 2). It fits on top of an IKEA Kallax so that’s perfect. It can print with PLA and PETG spools (officially not ABS, but it could with an enclosure according to a colleague). Requirement 3, check!
It can build objects of 22x22x25cm, which will be sufficient for my needs (requirement 6). Nothing prevents me of hacking it (requirement 4).
The brand Creality is well-known for cheap and decent entry-level printers, the community is big: Requirements 5, 7 and 8 check!
I let you here with pictures of the beast the day it arrived.
First prints and designs
I quickly started to print useful or useless stuff. As for many gadgets, you absolutely need it until the moment you’re in front of it. Then, you don’t know what to do.
I received a piece of white PLA with the printer and ordered a spool of eSun’s blue PLA+ and one of eSun’s black PETG. After less than a month I already had ordered white and red PLA+ spools too. What hobbies make you do!
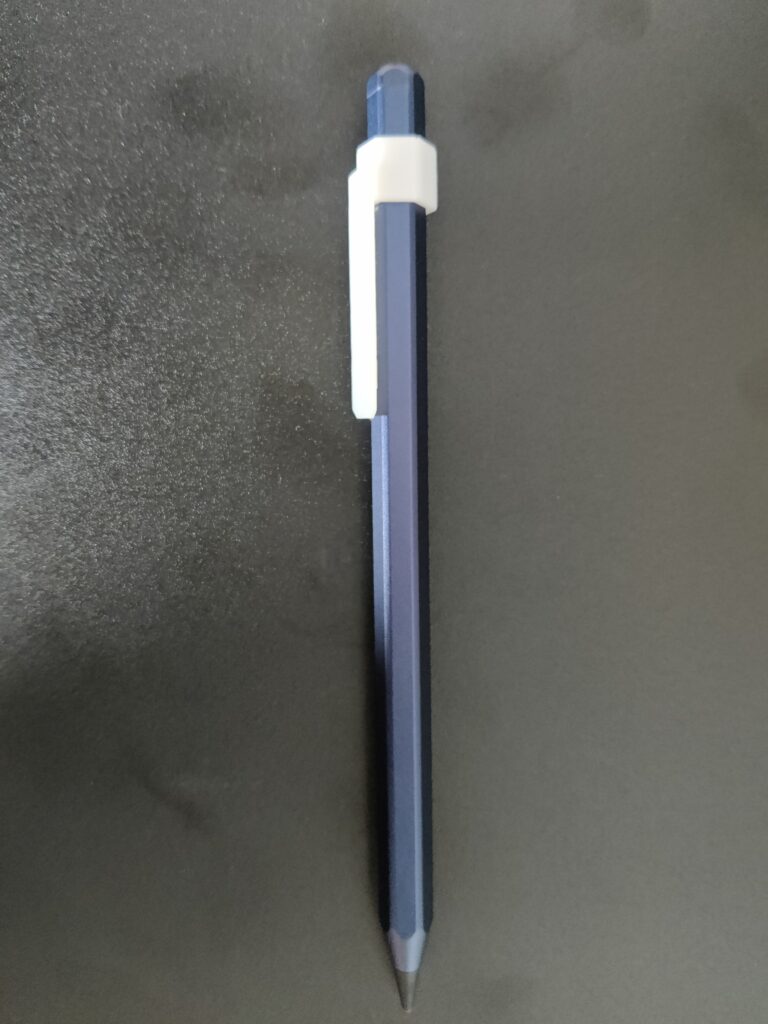
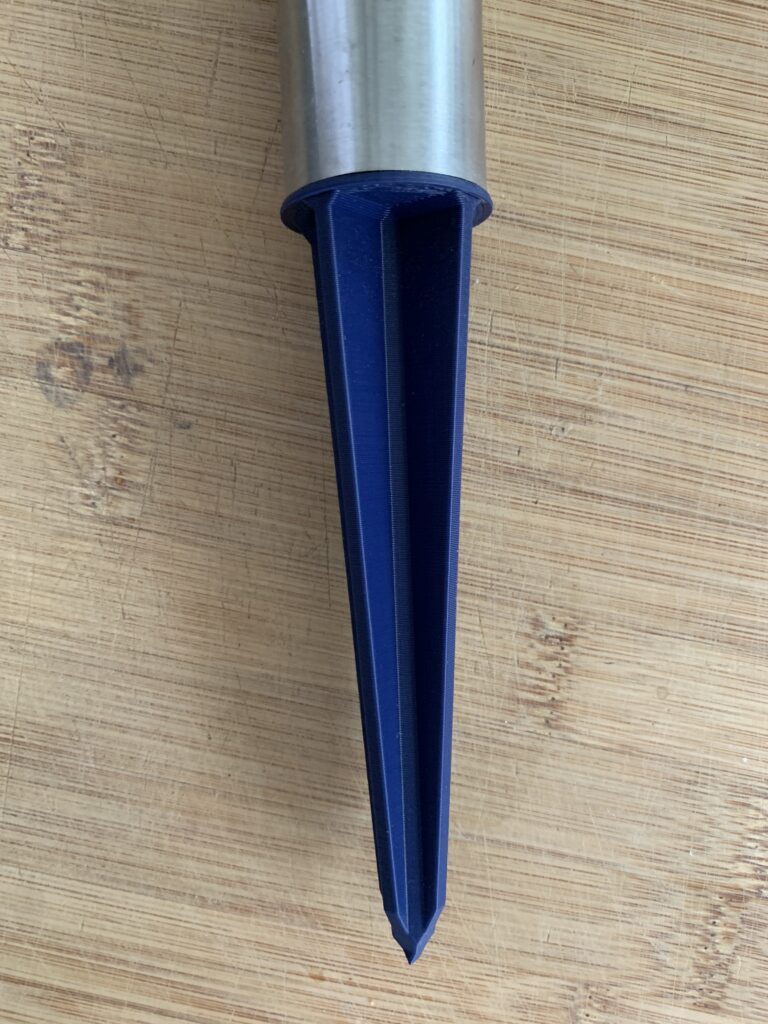
You can see below pictures of my first prints.
As you can imagine, I printed some models I got from Printables or Thingiverse. But for sure, I also created mine, with Autodesk Fusion 360. Why this modeling software an not another? Because I knew how to use it well already.
The objects on the pictures above are all creations of mine. I shared some of them on my own Printables and Thingiverse accounts, which I encourage you to visit!
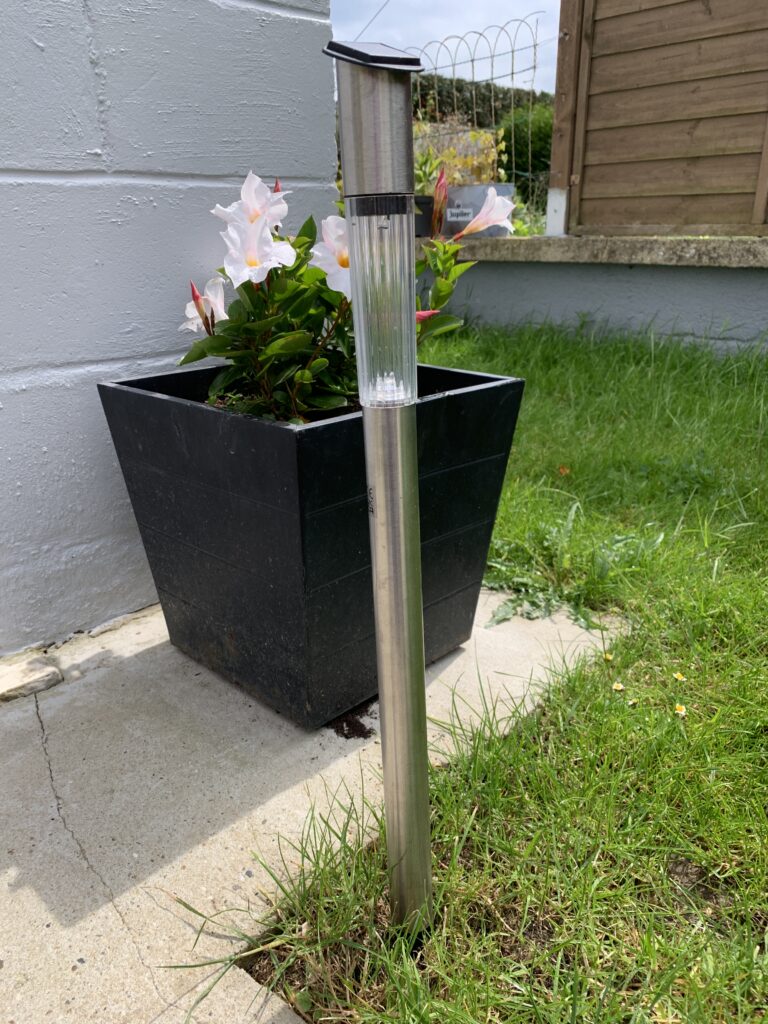
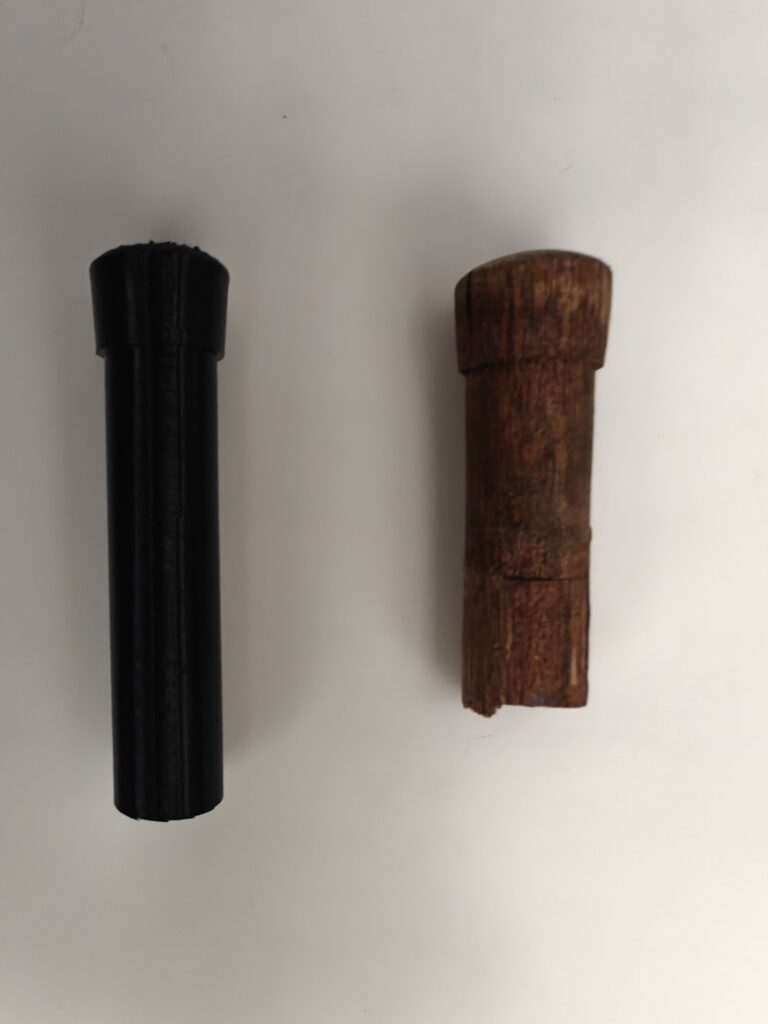
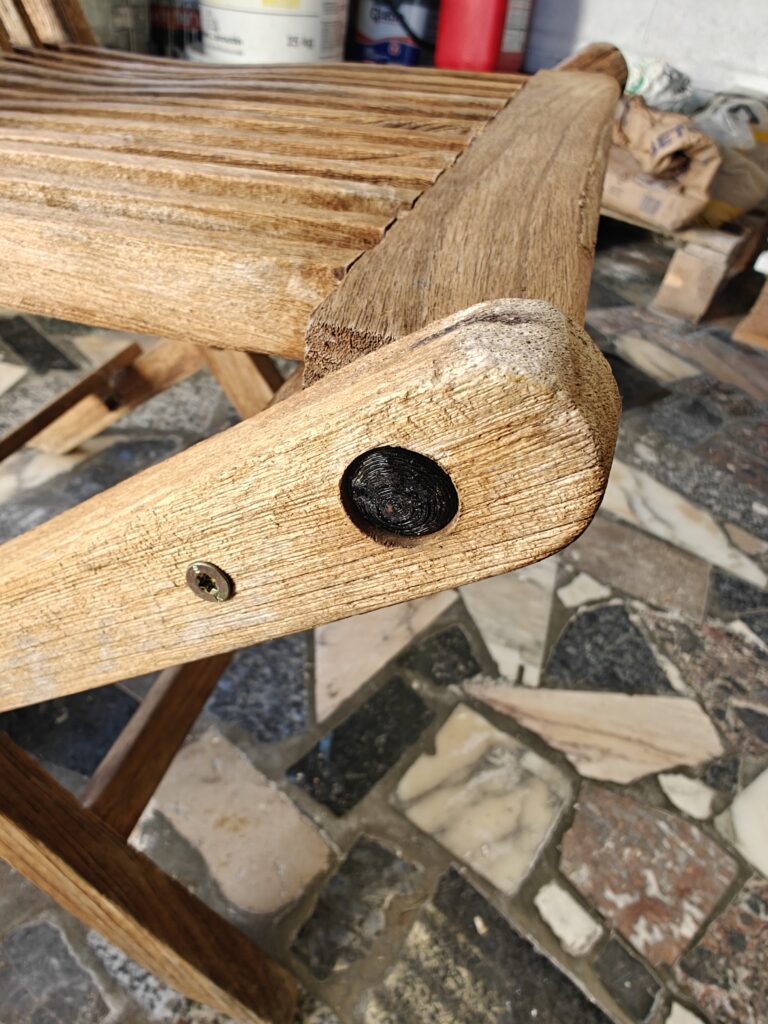
I quickly figured out that owning a 3D printer is very nice for improving every day objects (such as my iPad pen clip) or repairing broken ones. Indeed, I didn’t do the outdoor lamp’s foot for fun but to repair the genuine broken one. Same idea for the dowels I used to repair my chairs. Summer can begin now!
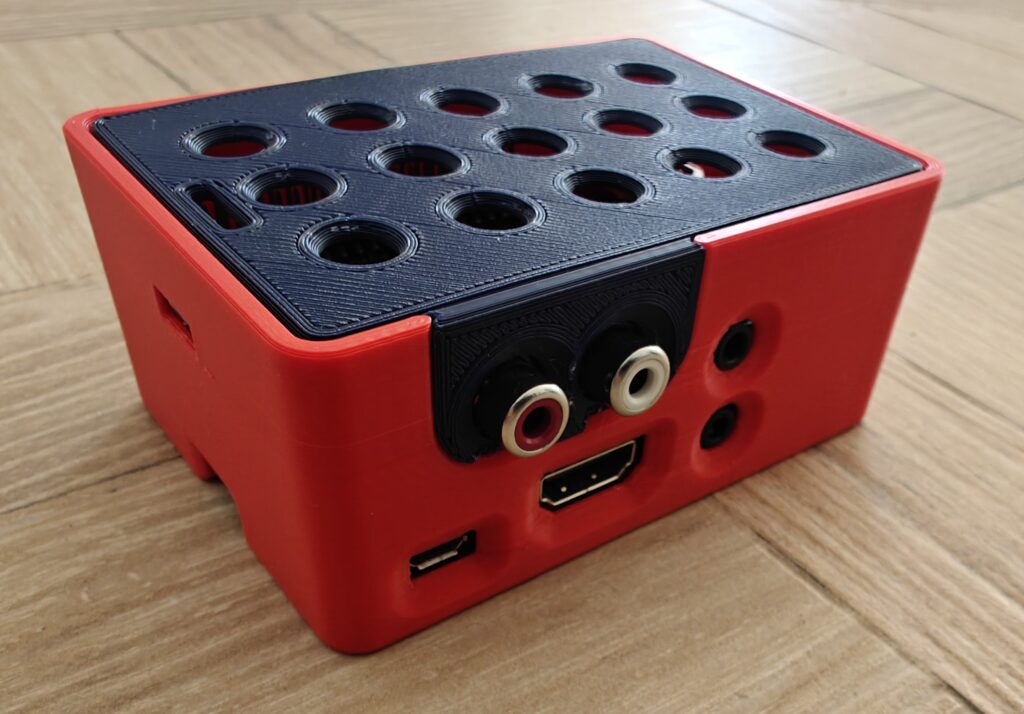
I’m very proud of the Pi-DAC+ Case for Raspberry Pi 3. I use a Raspberry Pi and a DAC HAT to stream audio from my smart devices to my home cinema, but I never bought a nice case for it. Then I found some that were nice but not adapted to my HAT on Printables. I downloaded and modified it, to give the result that you see.
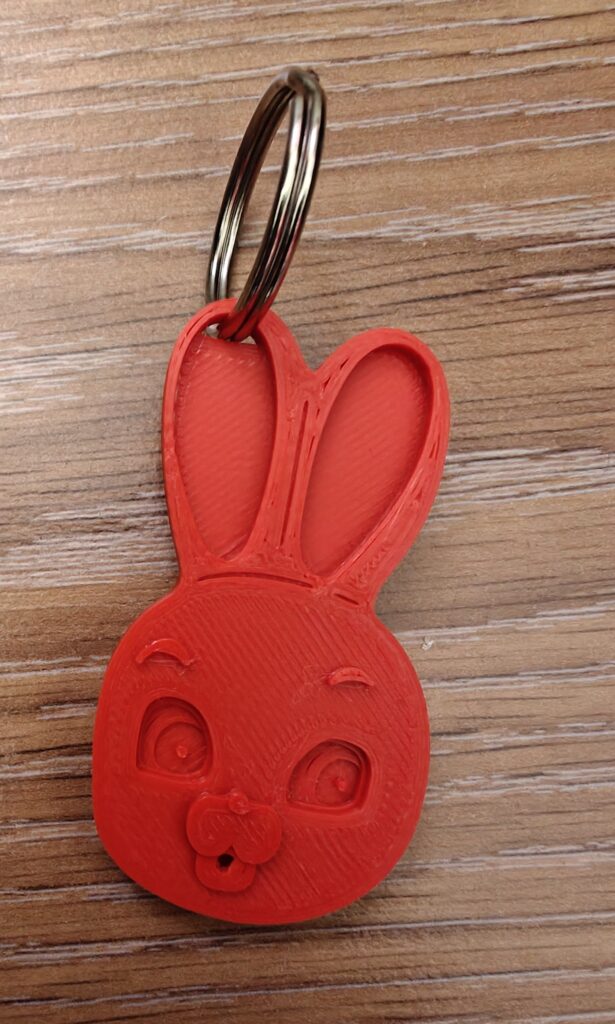
I also learnt how to import an SVG into Fusion and emboss the right parts to make very nice keychains for my sister’s fashion brand. Please take a look to her Instagram!
My favourite prints
As mentionned in the previous paragraph, I designed stuff but I also took benefits of the maker’s community to get awesome 3D models. Here is a compilation of my favourite ones:
Lightweight trolley coin
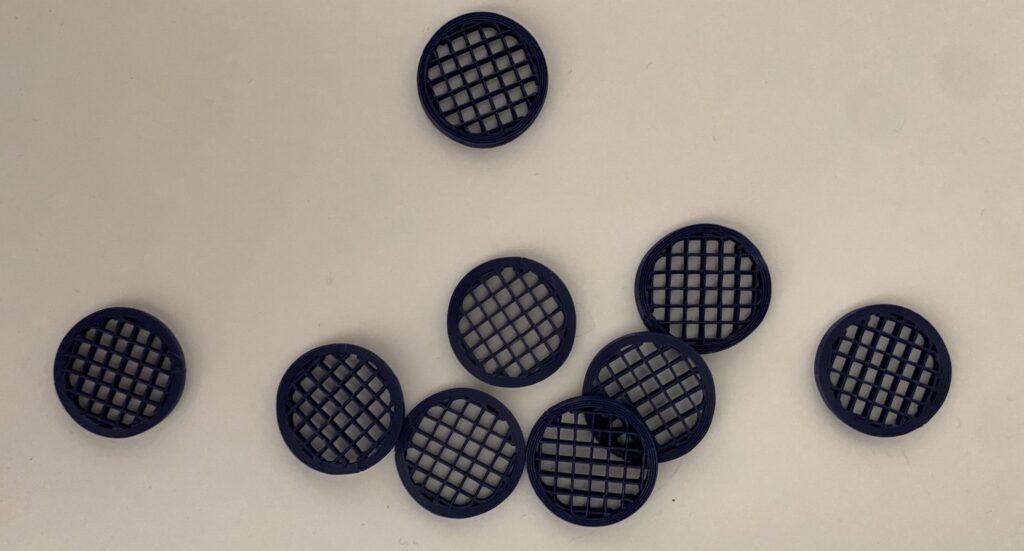
They cost almost nothing, they’re lightweight and for sure I will always have one in the pocket. The model can be found here.
Optimized bed scrapper XL
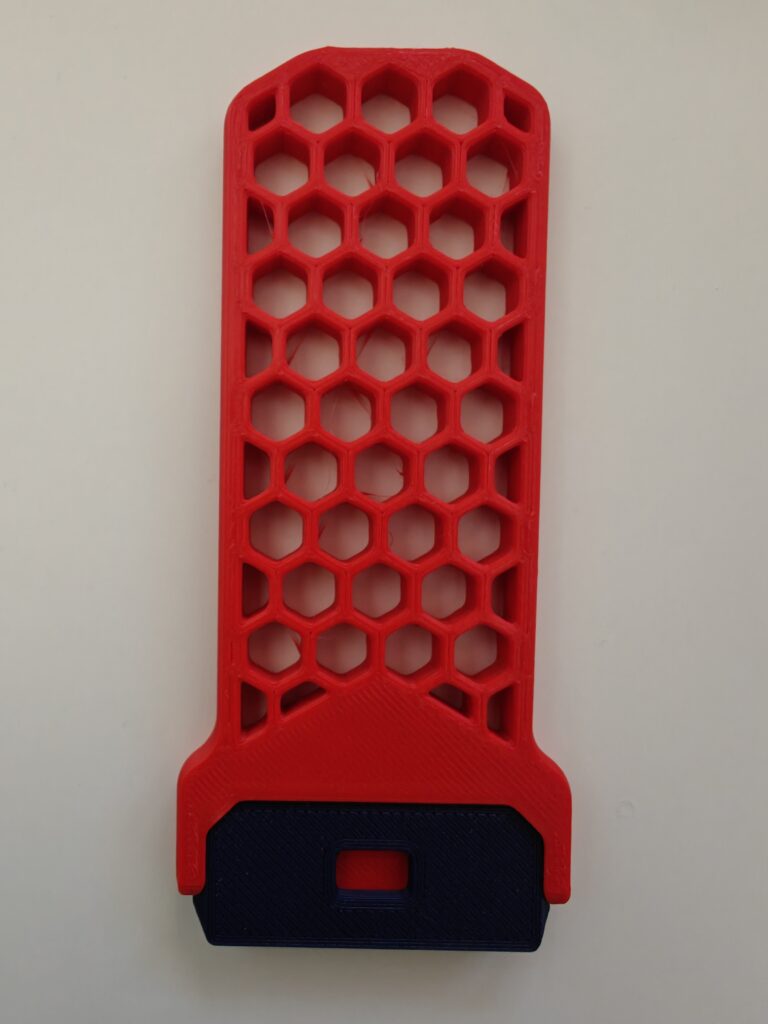
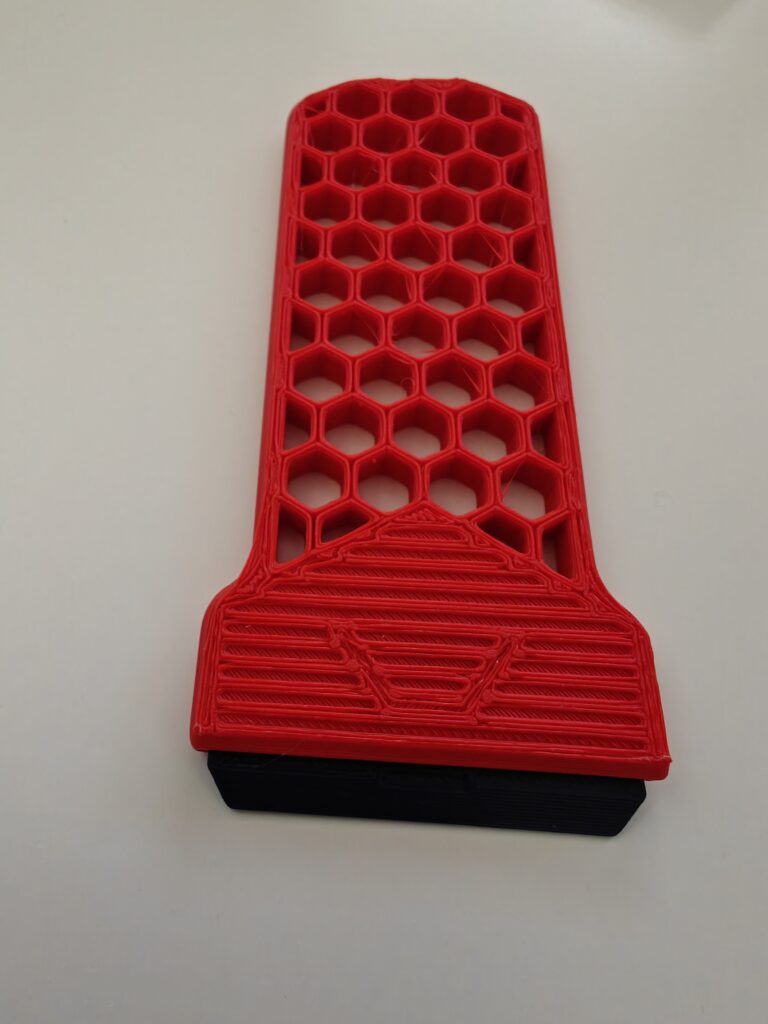
This one is definitely the most useful tool I printed, thanks ThreeD-Michael! This is the best way to remove parts and remaining plastic from the printer’s bed without damaging it. The blades are changeable, meaning that you don’t need to throw the full scrapper when it’s worn.
Stay puft marshmalow man
Ok, take the context: it’s almost mother’s day, you have a new 3D printer and you just watched Ghostbusters Ice Empire at the cinema. How can something be a better gift than this crazy one? That was my first long print. 12 pieces, two colours, something like 20h total print. It’s not perfect, I didn’t own the red filament at the moment I printed it, but look at that result! Kudos to the original designer.

And the code in that ?
For once, I don’t tell about code neither electronics here. No worries, I’m preparing an awesome article about this. But I won’t let you whitout any code for sure.
The Ender 3 V3 SE doesn’t beep when the print is finished. But it has a basic buzzer. How to add this feature? Just by adding a piece of GCode at the end of your files!
If you use Ultimaker Cura as a slicer, append this to your End G-Code in the menu: Settings > Printer > Manage printers > Machine settings > End G-Code
M300 S440 P2000
G4 P200
It will make the buzzer play a 440Hz tone for 2 seconds at the end of each print!
Conclusion
To conclude, I must say that 3D printing is awesome. I find in the printer’s community the same feeling as in the Open Source community for software. You can find whatever you want to make you life easier, and if you want to make it hard again, you can derive and modify the other’s work.
In a next post, I’ll go one level above by adding a bit of Raspberry Pi and OctoPrint to my 3D printer. Stay tuned, and go to my Printables and Thingiverse accounts!
![]()